Setup and Configure Nginx Webserver on AWS EC2 Instance and Create an AMI from it.

This article provides a simple breakdown of how to install and configure an Nginix Webserver, you will also learn how to create an AMI from it.
NGINX is open source software for web serving, reverse proxying, caching, load balancing, media streaming, and more. This means, anyone can use Nginx to host a website. It started out as a web server designed for maximum performance and stability.
Objective
- Create a t.2micro Ec2 (free tier) instance with the OS of your choice.
- Using system manager, connect to your instance and install Nginx.
- Verify that the instance has the Nginx web server downloaded and installed through the public IP.
- Make an Amazon Machine Image from the instance you created in step 1.
Installing Nginx in AWS EC2
We begin by clicking on 'Launch instance'. Then proceed to the configuration steps:
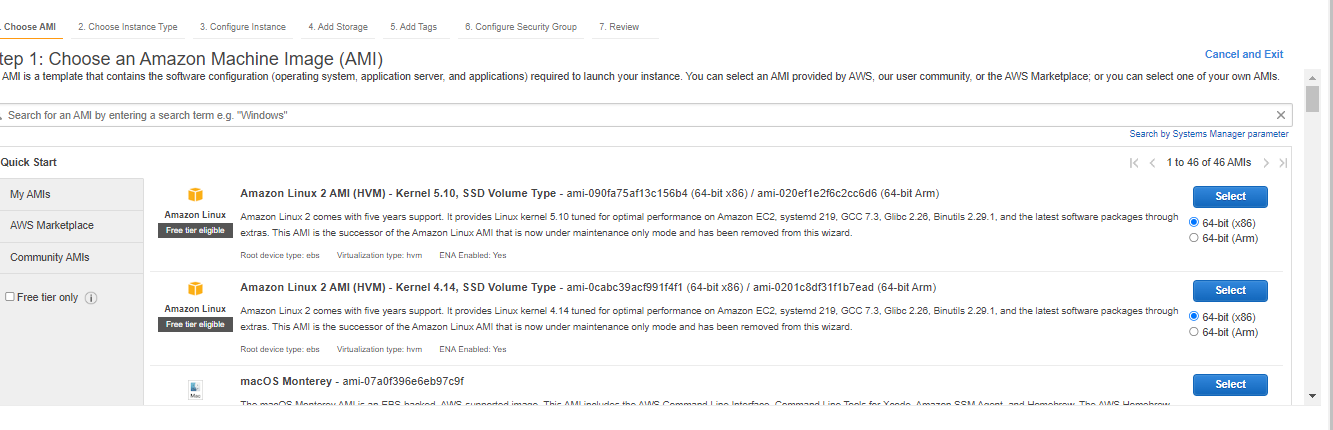
- Choose the Amazon Linux 2 AMI with 64-bit (x86). Click on Next.
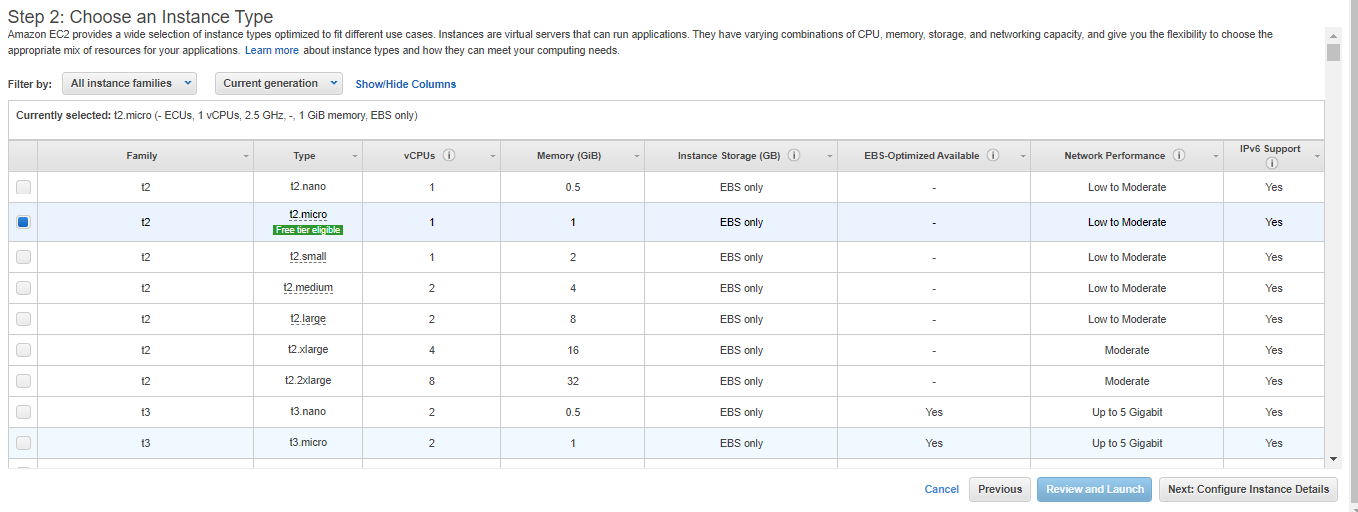
- Choose an Instance type, let's go with t2.micro for demo purposes. Click on Next: Configure Instance Details
- Choose your preferred VPC,
- Public subnet
- Enable Auto-assign Public IP
- Assign SSM role
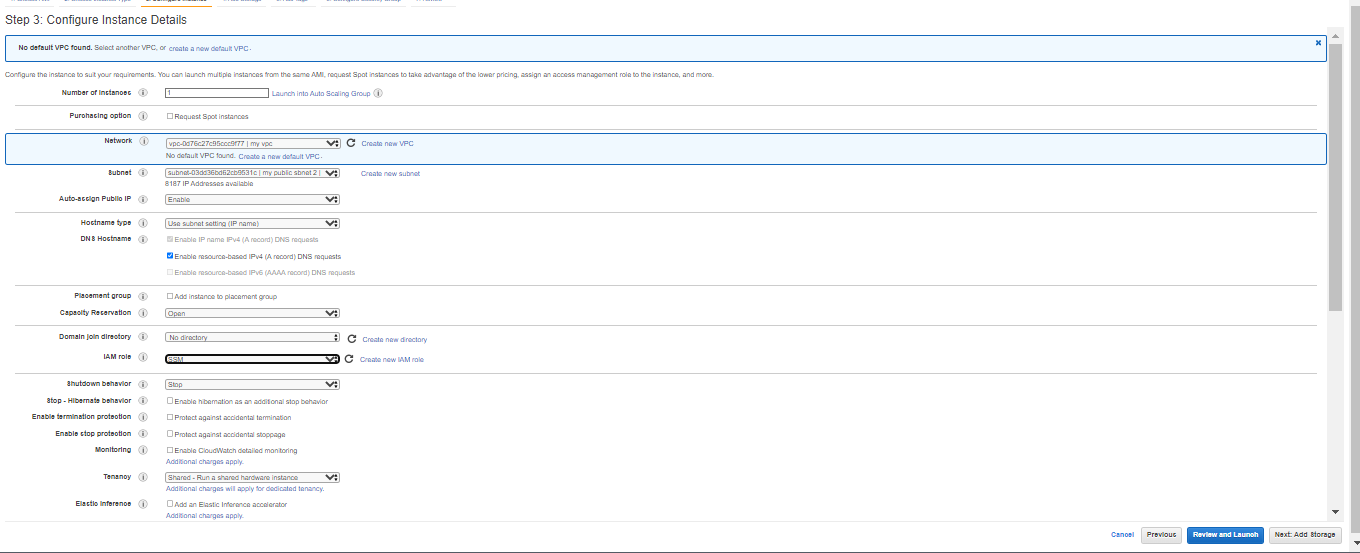
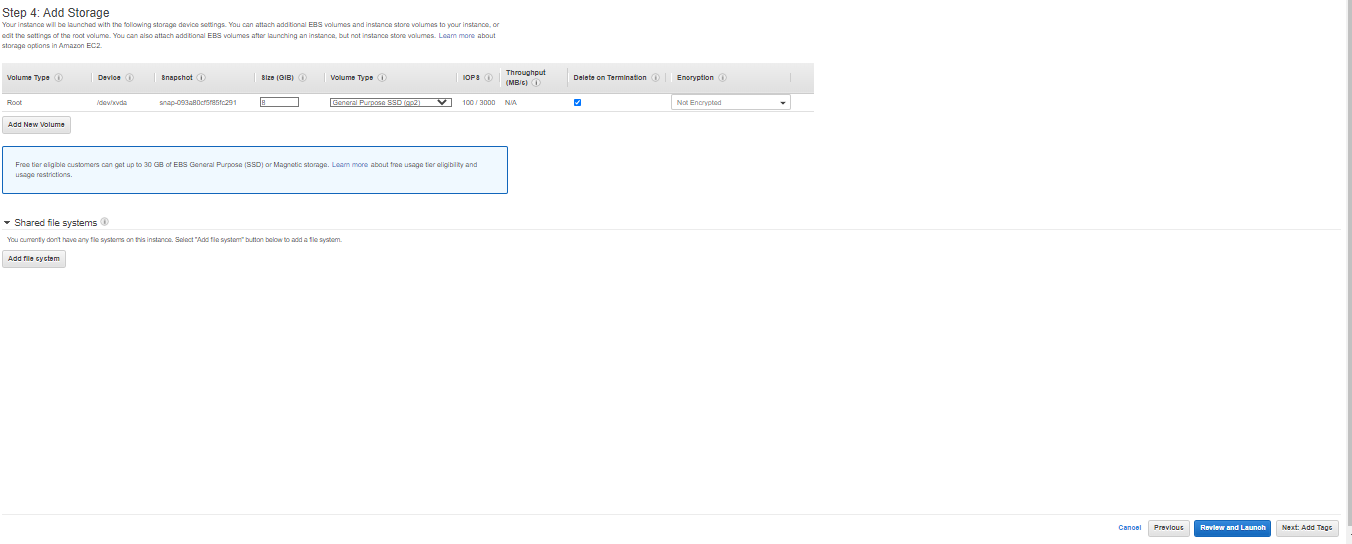
- Click on Next: Add Storage. Leave it to default unless you need more storage
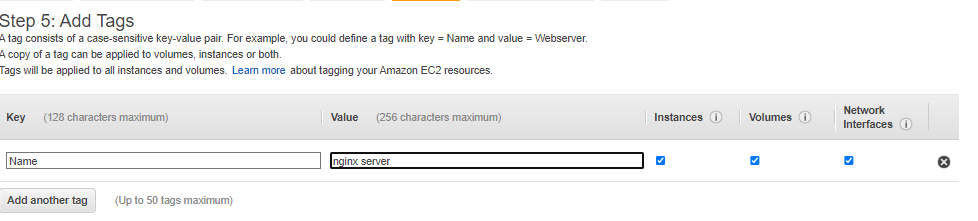
- Click on Next: Add Tags
- Click on Next: Configure Security Group. Create a new security group with the format as seen in the image below:
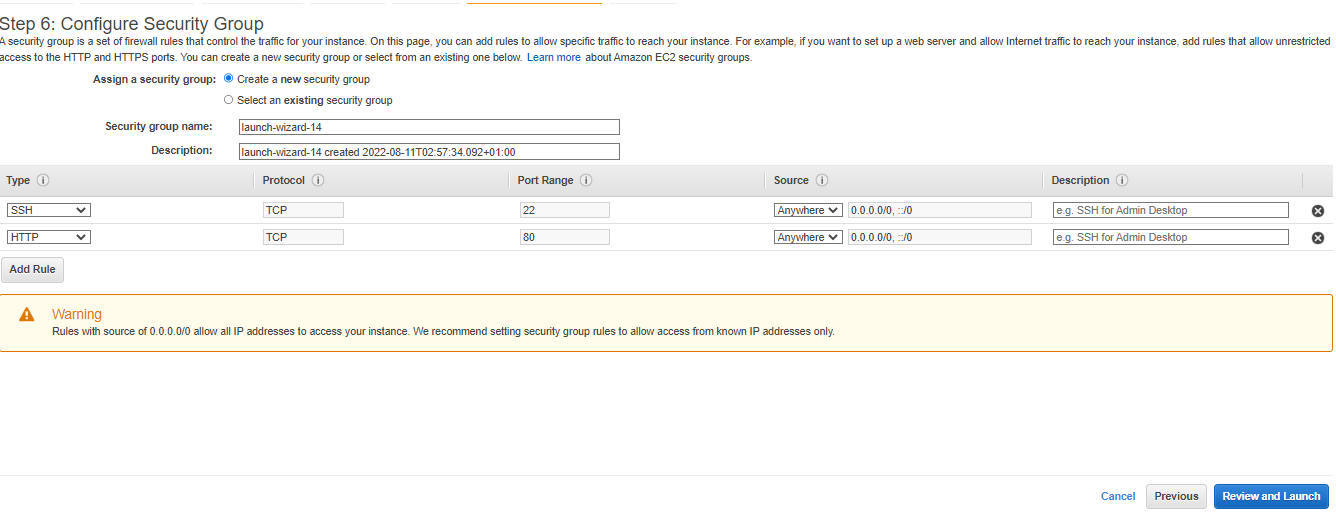
Click on Review and Launch. Review all the settings, click on Launch
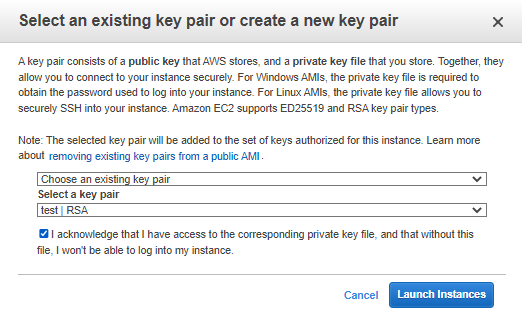
You are now required to either create a key_pair or use an existing one to use to access the instance. Here I'm using my already existing one.
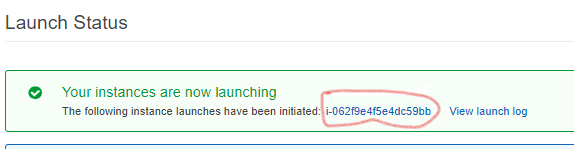
Once your instance is running, click on the instance ID as highlighted below to view instance.
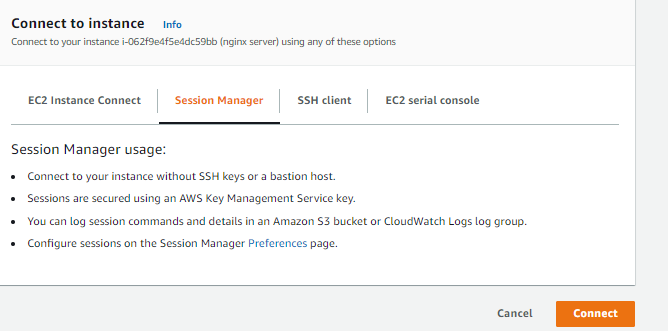
- Now click on 'connect' in order to connect the instance.

And select 'session manager', then click 'connect'.
- Having created this AWS environment, here are the few commands to run:
This is for you to su over to the root user

- Now you'll need to run 'Amazon-linux-extras' to get linux installed
$ amazon-linux-extras install nginx1.12

- We are going to use the instruction on CentOS to install Nginx, go to the official Nginx install page using this link https://www.nginx.com/resources/wiki/start/topics/tutorials/install/ you should be on this page.
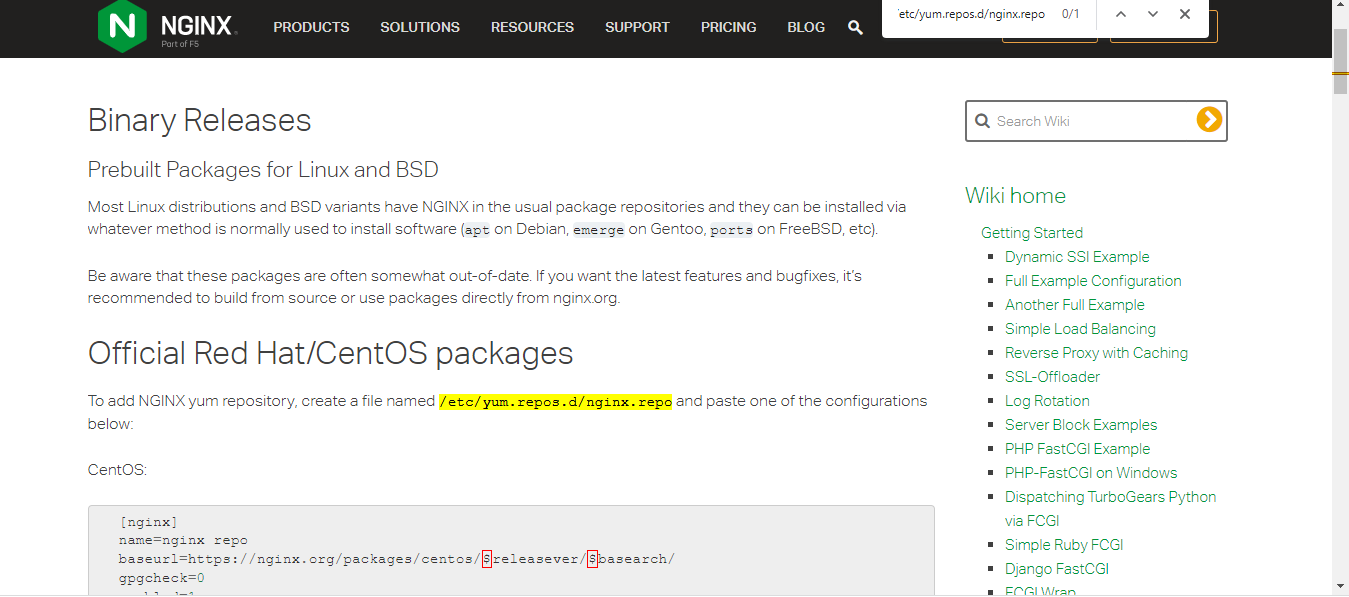
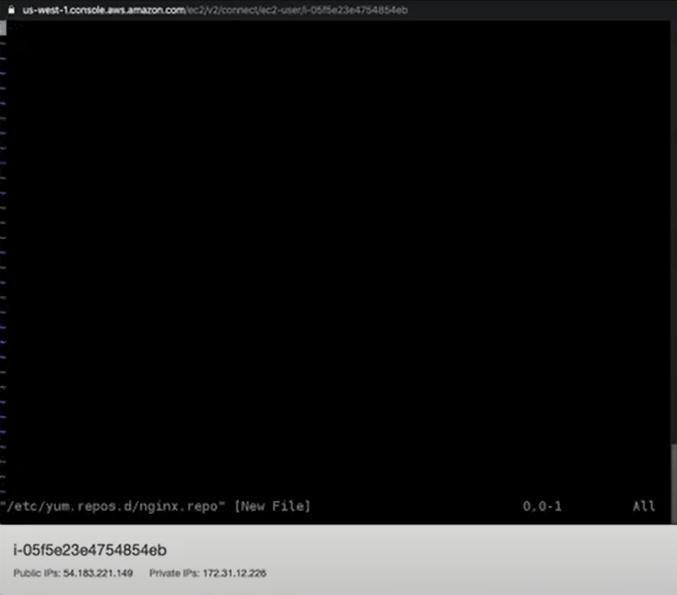
- Now copy the highlighted link, go to your black screen and type 'sudo vim paste link' and hit enter. A blank page like this will open:
- Then hit the 'i' button on your keyboard to insert commands, go back to the CentOS web page and copy the commands highlighted in blue below
- Paste it on your black screen and you have a similar work like this:
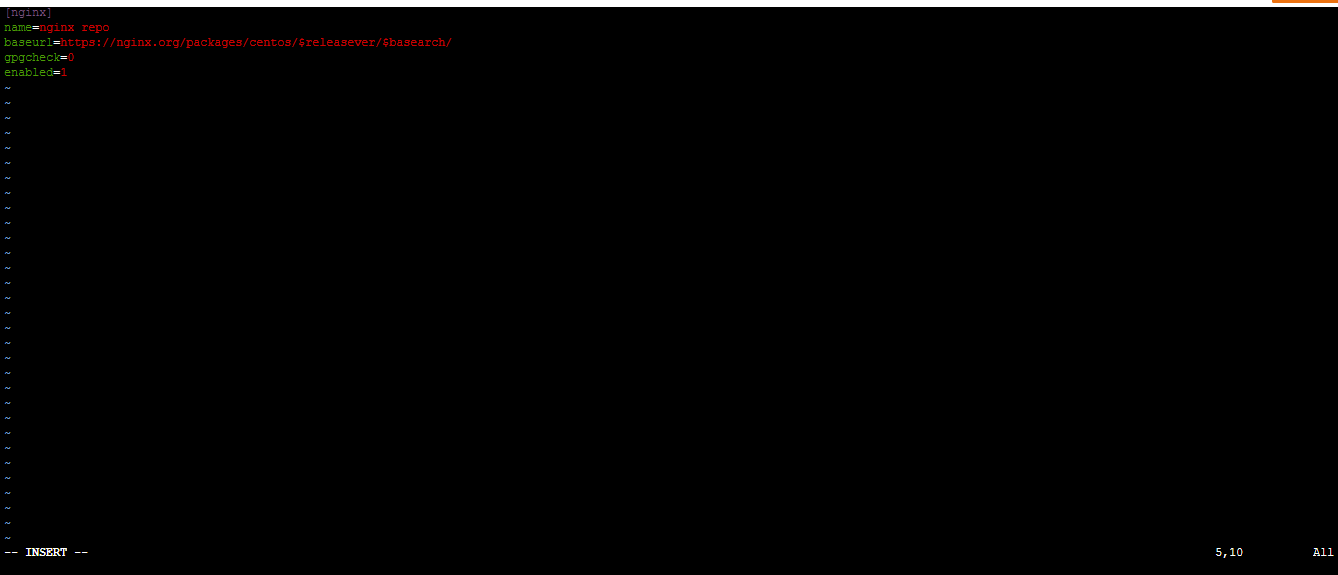
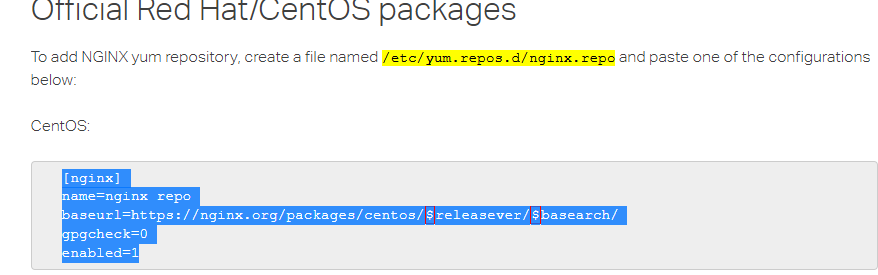
- For our next step, go back to the nginx web page and take note of this instruction: Due to differences between how CentOS, RHEL, and Scientific Linux populate the $releasever variable, it is necessary to manually replace $releasever with either 5 (for 5.x) or 6 (for 6.x), depending upon your OS version. So let's go ahead and make that change. but in this case we input 7, press the ESC, then type ':wq' to save and exit
Next we input these commands: sudo yum update sudo amazon-linux-extras install nginx1 -y
To test it: curl localhost:80
 If it fails to connect then proceed use these commands to start the webserver and then test
respectectively:
If it fails to connect then proceed use these commands to start the webserver and then test
respectectively:
sudo systemctl start nginx curl localhost:80
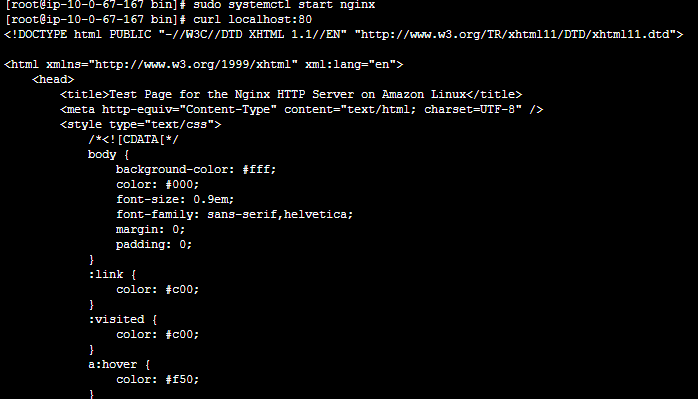
- Now that we are all done go back to the instance and click on your public IP address, open it on webbrowser under 'HTTP' not 'HTTPS' and you should have something that looks like this: HTTP://EC2-Public- IP

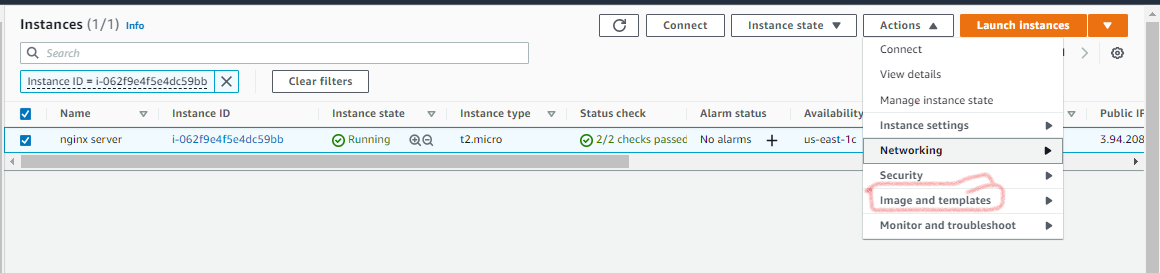
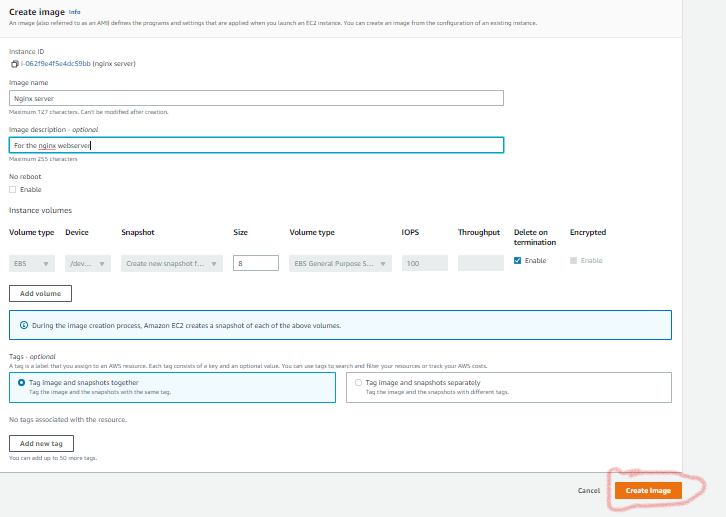
CONCLUSION Now that we have completed these steps I hope that this article gives you a detailed guide. In order to create an AMI from this, click on the Nginx instance and select 'Actions'.
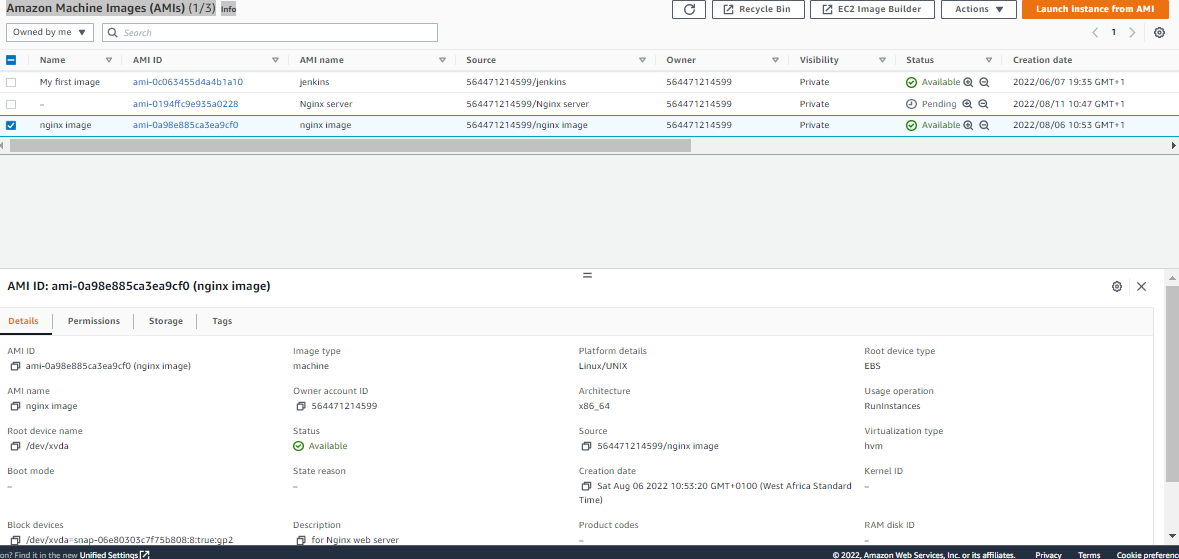
select 'create image" and Voila!!
Thank you for reading my article, feel free to leave your comments and questions below. Have a blessed day!


